Professional Tips for Repairing Concrete
Sooner or later most homeowners or business owners encounter the need to have a concrete repair completed.
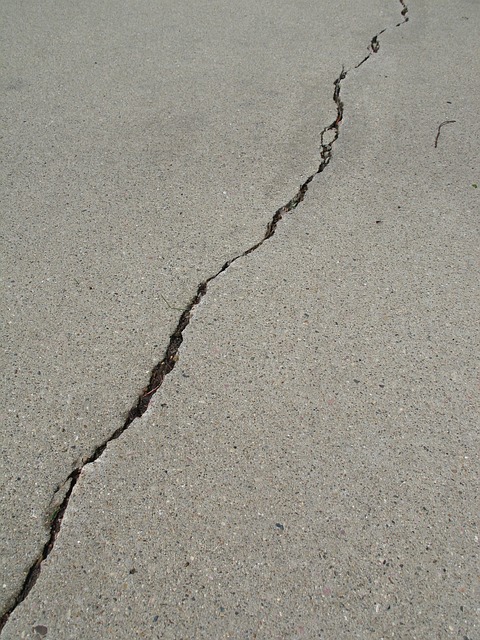
A person who is modestly handy can often complete the work themselves with the proper planning and know-how. Common household concrete repairs include thin cracks in garage floors, minor foundation cracks, and cracks in concrete sidewalks.
Narrow cracks in concrete garage floors are easily repaired by following these steps:
- Rake out the joint using a narrow coal chisel or painter’s back scraper to enlarge the crack and loosen away any shaling bits. Be sure to wear appropriate eye protection.
- Use a compressor to blow out any loose debris and dust from the cracks.
- Wet the crack to make the surface moist; using a spray bottle works well.
- Using a liquid concrete bonding agent, liberally apply using a paint brush and allow to set up. Make sure to apply in the crack and on the adjacent floor only on the surfaces immediately adjacent to the crack itself.
- Using an epoxy filler; inject directly into the crack, and to floor surface level. It is a good idea to use a small flat scraper in the event of too much infill, to scrape off any excess. Another option involves using a concrete mix designed for such repairs, and which can also be obtained at local hardware retailers.
- Allow to dry thoroughly before applying floor paint designed for concrete surfaces or epoxy finished floor coatings.
For foundation walls exhibiting cracks, it is important to evaluate the size and depth of the crack. If for instance the crack runs below grade and is fairly wide; it may signal getting in a professional who can excavate the site, repair the crack and water-proof the exterior surface after completing the repairs.
If an exterior foundation crack can be observed inside the basement, it is suggested that a professional be brought in to evaluate and remedy the issue. For exterior wall cracks that appear minor in depth and width; it is suggested to do the following:
- Clean off the exterior foundation wall using a wire brush and of course,into the crack area to rid any loose debris and dirt.
- Power wash the area. (This also serves to test if there is any water ingress, assuming you can see the inside one’s unfinished basement. Allow to dry thoroughly.
- Purchase a two part epoxy application kit,(Available at major hardware retailers or masonry suppliers). Read product instructions carefully.
- Accompanying the epoxy kit will be small plastic ports .The narrower the crack, the closer the ports should be placed along the exterior or interior wall surface; typically about every six inches. The ports can be attached to the wall using the epoxy mix which can be injected into a
small plastic container. Mix the epoxy with a small stick until the two parts blend together. Apply onto the base of the plastic port using the stick, and then place the ports along the crack as prescribed. The ports will take about twenty minutes to set up. - Attach the small hose accompanying the kit to the nozel of the epoxy tubes. The double tube arrangement will fit into a caulking gun designed for the product.
- Attach the caulking gun hose to one of the fittings you have located on the wall cracks, and begin injecting. The two part epoxy from each tube will blend together and fill the crack.
- When excess materials begin to appear, it is time to move to the next fitting. It is a good idea to use a flat scraper to trowel out any excess epoxy material which bleeds out of the crack.
- Once the material has cured; one can use a grinder to smooth out the wall surface.
It is important to note that vertical cracks in a concrete foundation wall can be quite normal to appear after the foundation has cured over time. If there are large horizontal cracks in a foundation, or one can see shifting or bellying of the wall; it is best to call a professional who should be able to evaluate a proper repair solution.
Where concrete sidewalks are concerned; the severity of the crack size determines the best course of action. If a particular slab or series of slabs are heaved and cracked. The best solution is simply to remove them, and pour new replacement pads.
While the work is physically demanding, a fit person could do it themselves and or with the aid of a friend.
Steps to replace concrete slabs include the following:
- Using a sledge hammer and iron pry bar; deliver several blows to the sidewalk slab to reduce the surface to rubble. A pry bar strategically placed to lift a section, and then smashing that section into smaller pieces with the sledge hammer, can make short work of the demolition.
- Remove and dispose of the effected slabs using a wheel barrow and deposit into a small rented dumpster bin.
- Insure that there is six to eight inches of aggregate in the void after compaction. In the case of an existing slab that has been removed, it may only be necessary to top up the surface with a few bags of aggregate and sand. Compact thoroughly by wetting down the mix and compact using a rented gas powered tamper; typically available from an equipment rental store.
- Using dimensional lumber, make a form on both sides of the effected slab, and in alignment with the associated sidewalk slabs. This may require digging out on each side of the walk way in order that the lumber has room to be placed at the correct height.
- By placing string lines along both sides of the walkway; one can replicate the height required for the forms in order to match the height of the adjacent existing slabs. Secure the wood forms using stakes on the outside of the form boards. Apply a thin coating of oil on the inside of the forms boards so they will release easily after the concrete pour has been completed.
- If possible, retain the existing felt dividers which are located between the concrete slabs. If they are severely damaged, they should be replaced.
- Once the aggregate and sand has been thoroughly compacted, and the forms are secured in place, it is time to pour the concrete.
- One can purchase concrete from a supplier who will send a truck to deliver the material, but this makes sense only if you are replacing a number of slabs in a walkway as one must pay a minimum fee for delivery of one yard of concrete. For a singular slab, it is best to mix the concrete in a rented mixer and pour into a wheelbarrow for transport into the prepared slab area. Consult with your concrete supplier/home improvement store vendor who can advise of correct mixture proportions and products for your application.
- Once you have poured the concrete in a gradient fashion, it needs to be screeded using a wetted 2”x4” board. The screeding is essentially moving the lumber back and forth against the surface of the freshly poured concrete to remove air bubbles and provide for a flat level surface with the top edges of the forms. The screeding board should be wider than the width of the forms and two people, (one each side of the form) can shift the board back and forth to create a smooth even surface.
- As the concrete begins to harden but is still wet, using a brush and a bucket of water; sprinkle the water over the surface of the concrete with the long bristle brush from above. Use a corn broom to texture the surface slightly; lightly dragging it across the surface of the concrete in a smooth and uniform motion, from one side to the other.
- Place a tarp suspended over the surface of the newly poured concrete if there is threat of rain.
- Be sure to mark off the area from persons who may inadvertently walk onto the surface.
- Once dry;24-48 hours after pouring the slab,(depending on temperature and humidity conditions), one can remove the forms and restore the grass or asphalt on each associated side of the walkway slab, or slabs as the case may be.
To learn more about concrete repairs, foundation repairs and waterproofing, or other masonry related subjects visit: www.avenueroadmasonry.com or reach us through Facebook™ or on Instagram™.