How to do a Parging Repair?
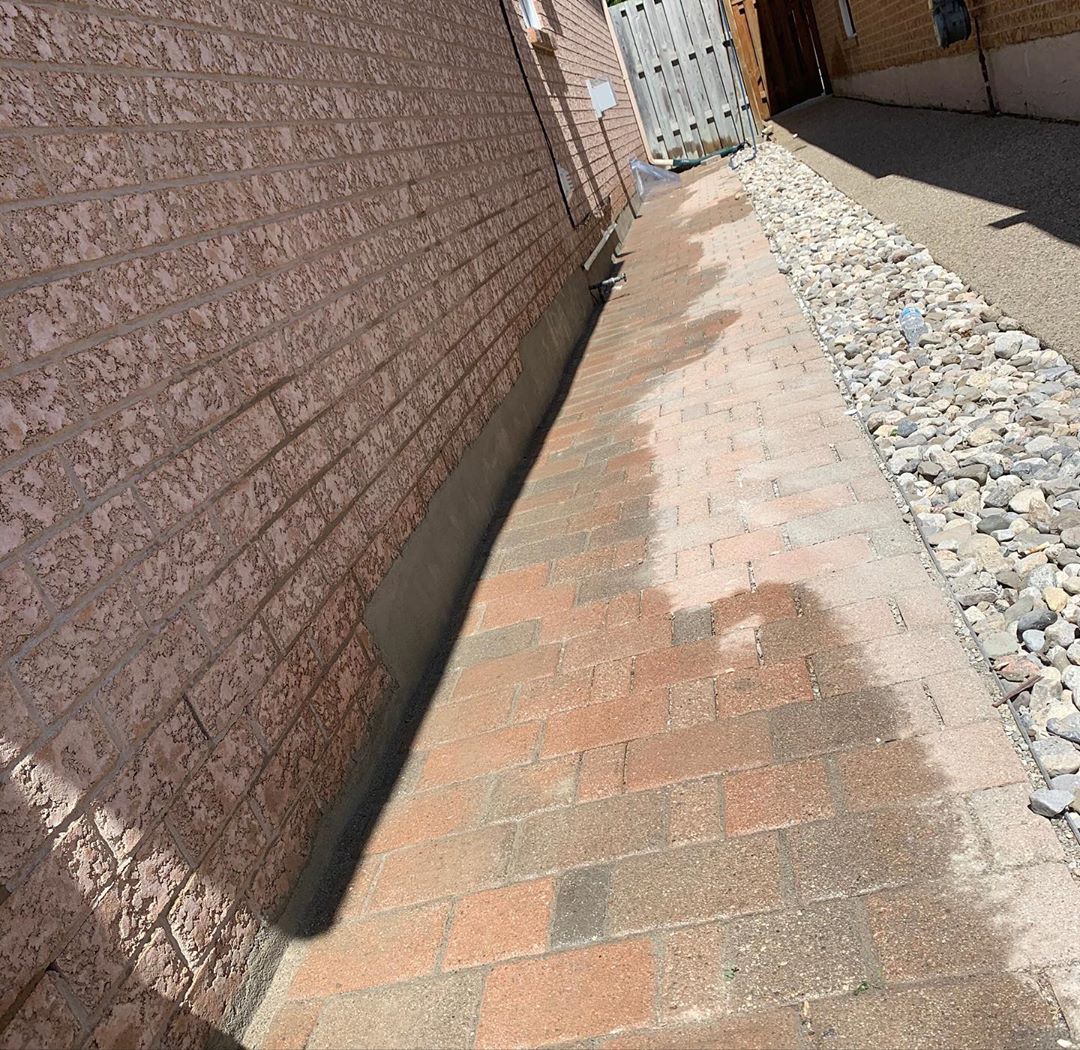
It is common for people that have older homes in the GTA, to have cement parging around the bottom of their foundation walls that protrude above ground, Also commonly found are chimneys that have been parged with cement, or retaining walls that have a cement parged coating.
Over time, the cement finish can deteriorate as a result of age, weathering, or corrosion from salt. So completing a parging repair can be considered a maintenance item that may be necessary for twenty years on average.
Signs of deterioration of cement parged surfaces include chunks that have become dislodged, cracking and fissures appearing in the surface of the substrate or bulging which can signal either moisture behind the parged surface or structural shifting beneath the finished surface.
One of the keys to a well done parging repair involves the preparation work.
For purposes of discussion, we will consider that the damage to the existing parged surface is installed over a block foundation wall.
Step one involves removing all of the old parging to expose the block structure beneath. After cleaning away all debris, the wall should be wire brushed and power washed to provide for a clean surface and to reveal if there is any water ingress potential from the block wall structure itself.
If it is found that any of the blocks or the associated mortar joints are cracked, bulging or deficient, those blocks should be removed and replaced by a competent mason. Inspect all mortar joints carefully to ensure that they are stable, and remove any cracked or missing surfaces. Piping and tooling new brick mortar into the affected joints, and allowing for curing of any masonry repairs, is key to a proper and lasting job.
If the weather is warm; usually one day of curing of the mortar will be sufficient to proceed to the next phase.
Starting with a clean and structurally sound substrate (wall surface); protect the ground surface by placing tarps or underlayment which will help avoid excessive, un-necessary cleanup of the ground from residual parging cement.
The next step involves making the correct mortar mix designed for parging. Using a sturdy wheelbarrow; add some amount of water into the barrow, but not too much. (one can always add water if needed later). Use two parts of sand to one part of Portland cement. Mix thoroughly, and gradients add water as needed until a mixture is developed that is able to stick to the trowel. Ensure that the mixture is not too thin, Mix manageable batches commensurate with one’s ability to use the material comfortably.
Having an assistant to maintain the batching of the cement mixture can be helpful; particularly if you are dealing with a larger surface area.
As the mortar mixture is being prepared; it is also a good idea to prepare in a separate bucket, some liquid bonding agent (sourced at masonry suppliers or major building suppliers), and add a handful of Portland cement.
A wide flat trowel, a masons hawk (also known as a hawd- essentially a hand-held platform to hold smaller amounts of mortar mix by the mason); and a masonry brush are the hand tools necessary to begin the task.
The next step is to wet down the surface of the wall to be parged, and then apply a brushing of the bonding agent mix onto the surface areas to be repaired. Once the preparation has occurred; the trowelling of the parging mix can begin.
If possible; start at an end of the wall to begin. If blending a repair surface corner, to an existing opposing corner; (or any exterior corner for that matter); it is wise to place a straight timber piece on the opposing corner surface to create a level edge. Be sure to wet the timber thoroughly so it does not stick to the newer parging cement and damage the finished corner. Also wait for the mortar to set somewhat, before attempting to remove the wooden corner form.
With all preparation work in place; one is ready in earnest to begin applying the cement parging to the wall surface. Begin by taking a conservative amount of mortar from the hawk to the flat trowel. A wider trowel is best for large surfaces. Begin applying from the bottom of the wall surface and applying in an even, fluid motion upward on the wall surface. Keep even pressure on the trowel when applying to avoid divets.
Repeat by applying several applications of the cement mixture adjacent to the previous pass. Keep a bucket of water handy to dip the trowel in to keep it slick, and using the trowel void of cement; re-pass over the cement applied areas, working upward and outward in motion, to feather out (smooth), the already applied mortar.
For the novice; the procedure may seem awkward or cumbersome, particularly when compared to watching a professional mason make the work appear effortless. Practice will result in a more fluid and consistent application as one “gets the feel” for the activity.
Continue to work in manageable sections, progressing from the bottom of the wall surface upward and outward, until reaching the opposing end of the wall. The application should have an average of half an inch of parging cement on the wall surface.
Periodically clean the surface trowel by dipping in water, and smooth out the previously applied areas.
Where two applications of parging cement may be required; the first coat is referred to as a “scratch coat”. Depending on the application; a scratch coat can be applied using a notched trowel, or by using a smooth trowel, and then passing over the surface with a wet mason’s brush. The second finished coat of cement parging is applied with a smooth trowel.
Two process parging is commonly done on homes that have cement “stucco” finished surfaces as an example. Two processes may also be required to help eliminate the appearance of a wall that is not particularly straight.
Other cement parging applications can involve foundation walls below grade; which are to be waterproofed, and applications over rigid insulation on exterior walls, or bare plywood walls.
When dealing with exterior insulated walls or bare plywood walls, it is absolutely necessary to have a vapour-permeable membrane applied, as well as a waterproofing membrane applied to the lower walls to avoid water ingress, and or moisture migration to the wood surface wall.
Other applications of cement parging require the use of a galvanized metal mesh applied on the wall surface in advance of applying cement.
To learn more about parging repairs, or other masonry services, contact: www.avenueroadmasonry.com or view us on Facebook™.